Mehndi, also known as henna, has been an integral part of cultural traditions and celebrations for centuries. From weddings and festivals to religious ceremonies and social gatherings, the art of applying mehndi is cherished across diverse cultures worldwide. While professional mehndi artists are renowned for their intricate designs and skillful application techniques, there’s something uniquely satisfying about creating your own mehndi designs at home. In this comprehensive guide, we’ll explore a treasure trove of DIY mehndi tips and tricks, empowering you to unleash your creativity and master the art of mehndi design from the comfort of your own home. Let’s embark on this journey together and discover the secrets to stunning mehndi designs through DIY mehndi tips and tricks.
- Understanding Mehndi Basics:
Before diving into the world of DIY mehndi, it’s essential to familiarize yourself with the basics of this ancient art form. Mehndi is derived from the leaves of the henna plant, which are dried, powdered, and mixed with water or other natural ingredients to create a paste. This paste is then applied to the skin in intricate designs, where it stains the top layers of the skin, leaving behind temporary artwork that lasts for one to three weeks. Understanding the properties of henna and how it interacts with the skin is crucial for achieving beautiful and long-lasting mehndi designs at home.
2. Preparing Your Mehndi Paste:
One of the most critical aspects of DIY mehndi is preparing the perfect mehndi paste. While ready-made cones and tubes of mehndi paste are readily available in the market, creating your own paste allows for greater control over the ingredients and consistency. To make your mehndi paste at home, start by sifting henna powder to remove any lumps or impurities. Gradually add lemon juice or a similar acidic liquid to the powder, stirring until you achieve a thick, smooth consistency. Allow the paste to rest for several hours to release the dye, resulting in a vibrant stain when applied to the skin.
Visit: stylish mehndi designs for 2024
3. Mastering Mehndi Application Techniques:
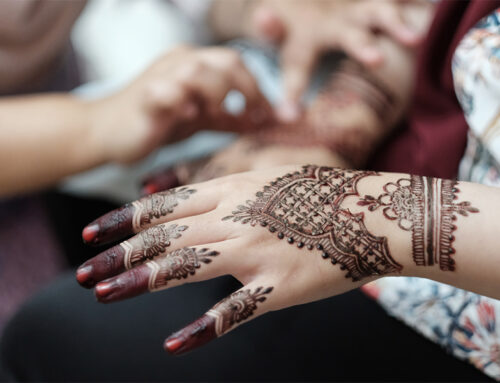
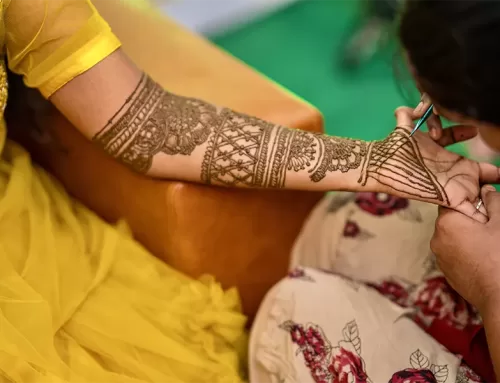
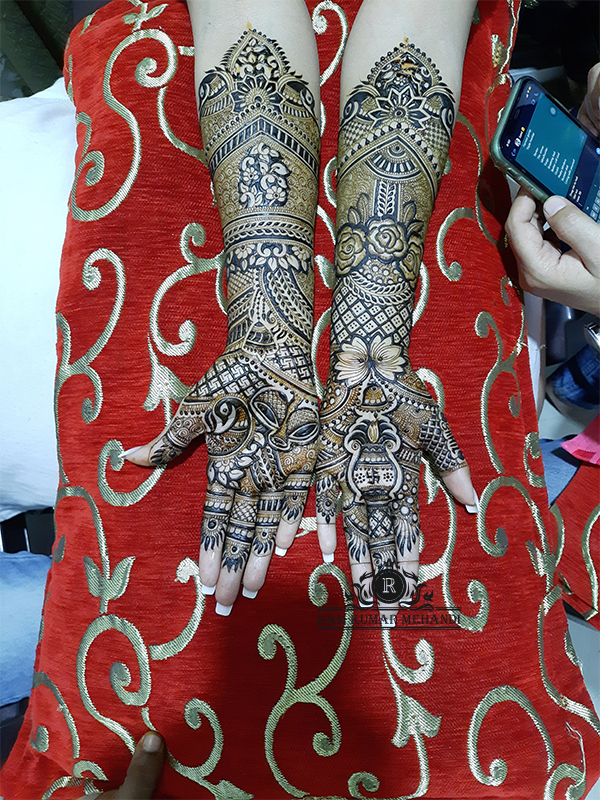
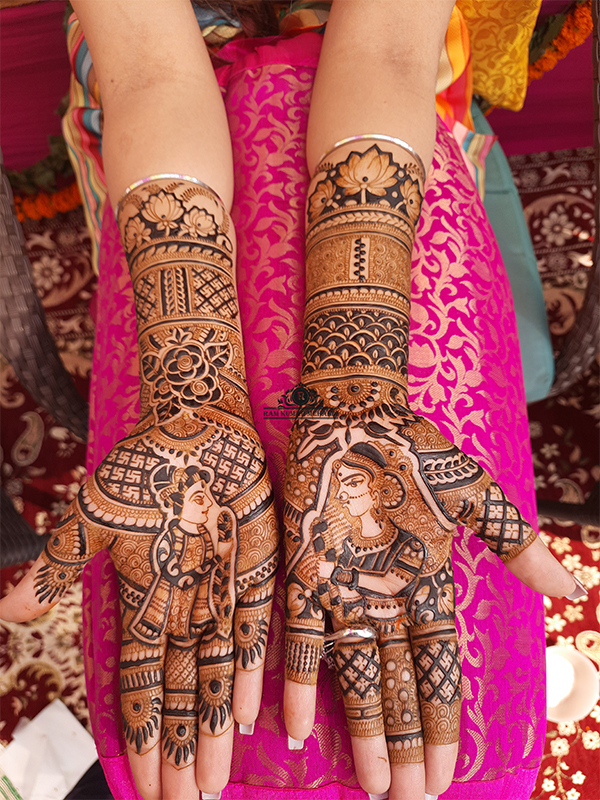
Once you’ve prepared your mehndi paste, it’s time to master the art of application. Begin by practicing basic shapes and patterns on a paper or practice board to familiarize yourself with the flow of the paste and the pressure required to create clean lines. When you feel confident, move on to applying mehndi to your skin. Start with simple designs, such as dots, lines, and geometric shapes, before progressing to more intricate patterns. Remember to maintain a steady hand and work systematically from one area to the next to ensure consistency and symmetry in your designs. Beyond the swirls and flourishes lies a deeper magic – the magic of connection, celebration, and love. With each stroke of our brush, we, as the most experienced mehandi artist in delhi, weave a story of joy and beauty, leaving behind a legacy of cherished memories and unforgettable moments.

4. Enhancing Your Designs with Accessories:

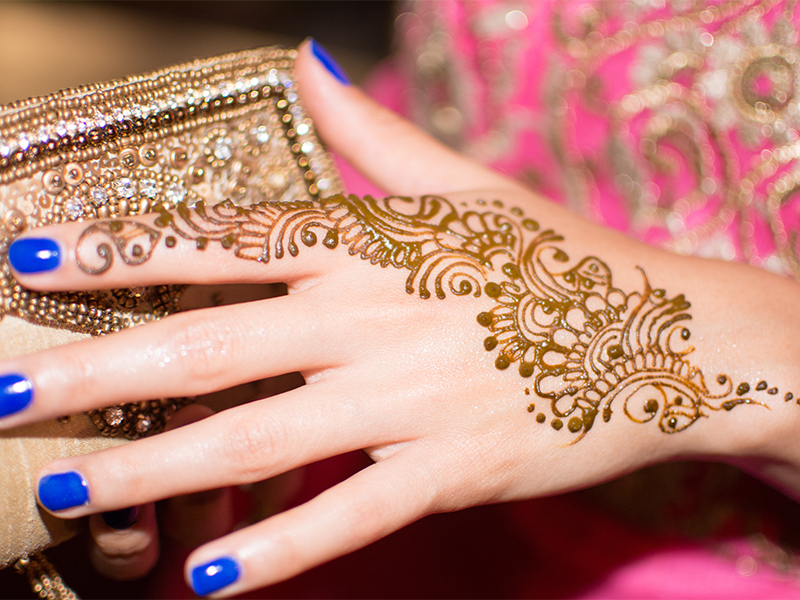
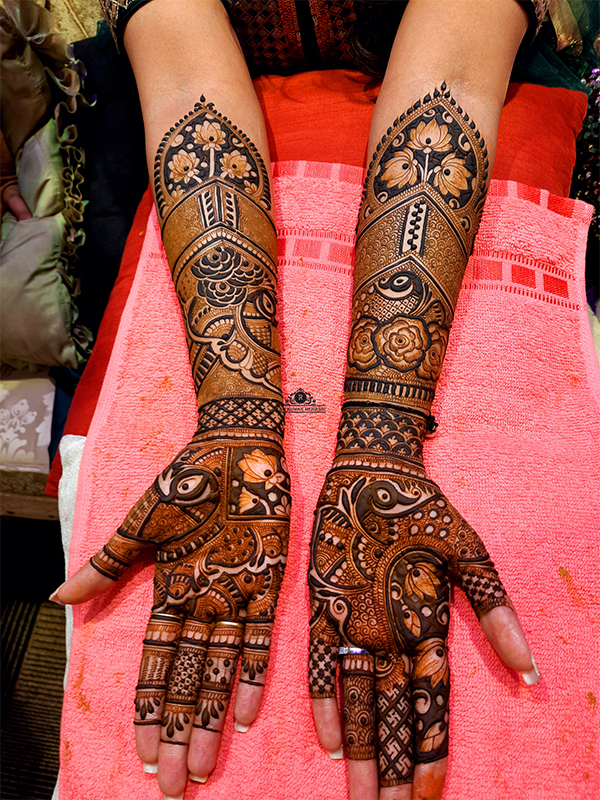
While mehndi designs can stand alone as beautiful works of art, they can be further enhanced with the addition of accessories such as glitter, gems, and embellishments. Once your mehndi design has dried and set on the skin, consider adding accents and adornments to elevate its visual appeal. Apply glitter gel or adhesive gems to highlight certain elements of your design or add shimmering accents to create a dazzling effect. Be sure to use skin-safe products specifically designed for use with mehndi to avoid any adverse reactions. With a deep respect for diversity and inclusivity, our bridal mehndi artist embraces the unique heritage of each client, weaving together elements of tradition and modernity to create a tapestry of beauty that transcends boundaries.

5. Caring for Your Mehndi Design:
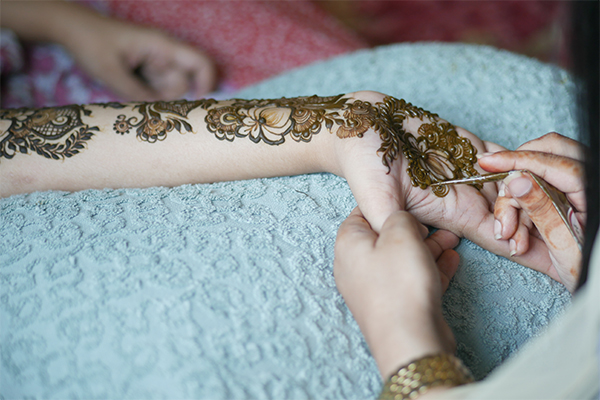
To ensure the longevity of your DIY mehndi design, proper care and maintenance are essential. After allowing the mehndi paste to dry completely on the skin, gently seal the design with a mixture of sugar and lemon juice or a similar sealing solution. This helps to enhance the intensity of the stain and prolong the lifespan of the design. Avoid contact with water for the first 24 hours after application, as moisture can cause the mehndi to smudge or fade prematurely. Additionally, moisturize the skin regularly to keep it hydrated and prevent the mehndi from flaking off prematurely.
Visit: tips for mehndi after care
Conclusion:
DIY Mehndi Tips and Tricks offer a gateway to creative expression and self-discovery, allowing individuals to immerse themselves in the rich tapestry of mehndi artistry from the comfort of their own homes. By understanding the fundamentals of mehndi application, mastering the art of paste preparation, and exploring innovative design techniques, anyone can unleash their inner artist and create stunning mehndi designs that reflect their unique style and personality. Whether you’re a novice enthusiast or a seasoned aficionado, the world of DIY mehndi beckons with endless possibilities for exploration and creativity. Embrace the journey, experiment with new techniques, and let your imagination soar as you embark on your DIY mehndi adventure.